Via ferratas for beginners: complete guide 2026
How to choose your first via ferrata: F and PD grades, gear, technique, training, safety, and criteria to find easy via ferratas for beginners.
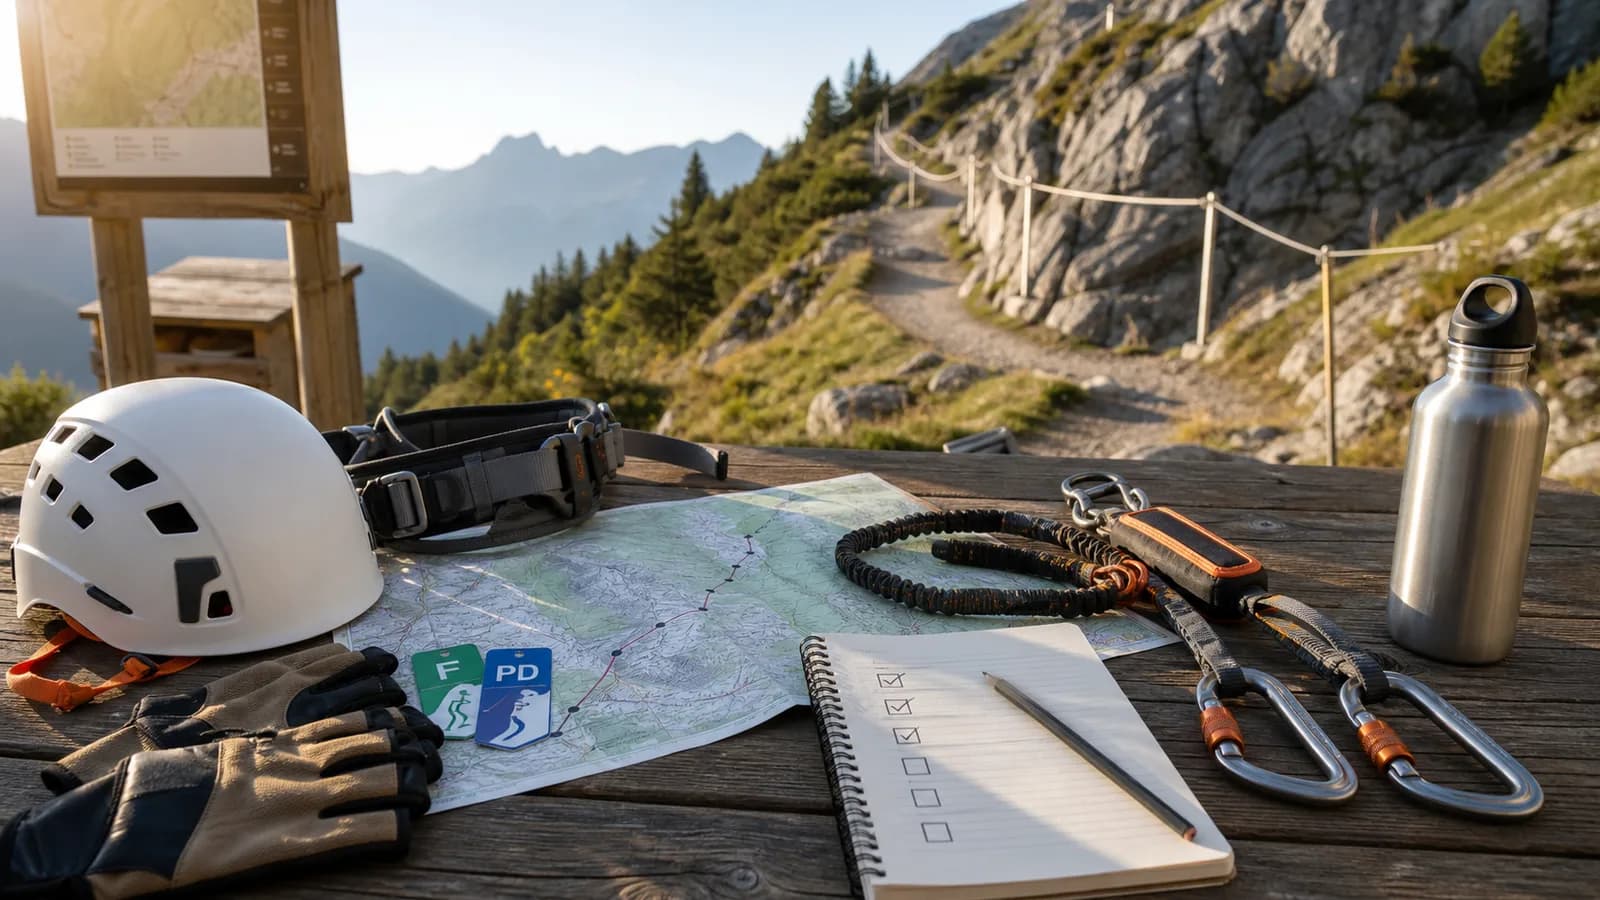
Three green signals, two limits, one stop
Easy or moderate, short and simple return
Guide, course or truly experienced partner
First-route scorecard
Count your green signals. If you do not reach at least 4 out of 5, choose an easier route or postpone.
Target
4/5+
Easy or moderate grade
Your first route should leave technical margin.
Short total time
It is better to finish fresh than learn while tired.
Simple descent
The way down should not be the hardest part.
Stable weather
Storms, wind and snow cancel the plan.
Experienced support
Someone must truly know progression and retreat.
Via ferratas for beginners: how to start
The best via ferratas for beginners are easy, short, well-equipped, and set in a straightforward environment. For your first experience, it is not enough to simply look for the lowest difficulty rating: you also need a clear approach, an easy descent, stable weather, favorable recent conditions, and a competent partner to teach you how to use the gear. The goal of your first via ferrata is not to tackle the most famous route, but to learn to move along the cable calmly, using correct technique and with a wide safety margin.
- Choose an EEA-F or a very mild EEA-PD route
- Prefer a short duration, moderate elevation gain, and straightforward return
- Tackle the first outing with a mountain guide, a course, or a truly experienced companion
- Verify the weather, open status, and current conditions of the via ferrata before setting out
- Turn back if the route does not match the description or the ability of the group
What is an easy via ferrata?
An easy via ferrata generally features good protection, numerous natural or artificial footholds, short vertical sections, and moderate exposure. In Italy, these are typically classified as EEA-F. However, the rating only describes part of the experience: a technically easy via ferrata can still be long, at high altitude, exposed to the sun, or followed by a demanding descent. For a beginner, "easy" must also mean short, easy to navigate, and logistically simple.
- Cables and equipment in good condition along the necessary sections
- Abundant handholds and footholds, with no long overhanging sections
- Few highly exposed passages and opportunities to rest safely
- Approach and descent on clear paths suitable for the group
- Up-to-date route description with times, elevation gain, and potential escape routes
F or PD grade for your first via ferrata
For a first via ferrata, the EEA-F grade is the most prudent choice. An EEA-PD route can be suitable only if it is short, well-equipped, lacks sustained difficulty, and is described as beginner-friendly. Not all PD routes are equal: chimneys, exposed traverses, vertical ladders, and long sections without rest can greatly increase the physical and mental demand. Avoid D, MD, and ED grades until your technique, experience, and fitness are well established.
- EEA-F: first choice to learn progression and carabiner management
- EEA-PD: second step, or first experience only with qualified support and a large margin
- EEA-D: requires prior experience, technique, and good physical fitness
- The maximum grade does not always reflect continuity, altitude, and descent difficulty
How to choose your first via ferrata
The first via ferrata should be chosen based on the least experienced, least fit, or most height-sensitive person in the group. Compare the difficulty grade, total duration, elevation gain, altitude, exposure, access, and descent. Look for itineraries that are nearby, popular but not overcrowded, have mobile reception where possible, and offer simple alternatives. A training route or a short via ferrata close to the valley floor offers more learning opportunities than a classic alpine route.
- Realistic total time, including approach, breaks, and descent
- Easily accessible start and well-marked path
- Ability to exit or turn back before the main sections
- Moderate altitude and absence of residual snow
- Parking, transport, and schedules compatible with an early start
Do you need a guide for your first via ferrata?
A mountain guide or a course is the most comprehensive way to learn tie-in procedures, passing anchors, spacing, movement techniques, route planning, and emergency management. An experienced friend can help only if they possess real competence, know how to teach, and choose an itinerary suited to you. Having completed many via ferratas does not automatically guarantee the ability to guide others or manage rope work.
- Choose a mountain guide or an alpine club course for structured training
- Communicate your experience level, physical fitness, and comfort with heights beforehand
- Ask to practice using the gear and maneuvers before reaching the cable
- Do not rely on companions who downplay fear, weather, or difficulties
Required gear for beginners
The essential kit includes a climbing helmet, a harness, and a modern via ferrata set with an EN 958 certified energy absorber. You also need grippy shoes, gloves, layered clothing, and a backpack containing water, food, a headlamp, a phone, and basic emergency gear. Learn how to wear and check every item before your trip; do not wait until you are at the base of the route to read the manual.
- Stable, correctly buckled helmet
- Harness of the correct size with checked buckles
- EN 958 via ferrata set matching the total weight specified by the manufacturer
- Carabiners that are easy to open with one hand and with gloves on
- Already tested shoes, a stable backpack, and gear scaled to the outing
Buying vs. renting gear to start
For your first outing, it can be cost-effective to rent a helmet, harness, and set through a guide, alpine hut, or specialized shop. This allows you to try the sport and understand sizing and preferences before purchasing. If you decide to buy, choose new, certified, and documented gear. Avoid used sets, products without manuals, and listings of unknown origin, as the history of an energy absorber cannot be verified visually.
- Renting: check the size, function, and inspection procedures of the provider
- Buying: try the helmet and harness first, and check the ergonomics of the carabiners
- Complete kit: practical, but each component must suit your body shape
- Note the purchase date and keep the manuals and receipts
Basic technique: using legs and footholds
Beginners often tend to pull themselves up the cable using their arms, which quickly drains energy. The most efficient technique uses legs, feet, and natural footholds, keeping the body close to the wall and the arms relaxed when possible. Watch where you place your feet, shift your weight with control, and use the cable primarily for balance and safety, not as a rope to pull yourself up.
- Place your foot precisely before weight-bearing
- Push up with your legs instead of pulling solely with your arms
- Keep your movements short and steady
- Find stable positions to rest without blocking other climbers
- Do not rush to keep up with faster climbers
How to pass anchors safely
When the cable meets an anchor point, the carabiners must be transferred using proper technique, maintaining the required connection without rushing. The movement should be practiced on the ground or on a training route. The lanyard arms must not be twisted, and the second carabiner must never be clipped randomly to the harness, as some configurations can compromise the function of the energy absorber.
- Learn the procedure from the manual and through qualified practical instruction
- Choose a stable position before moving the carabiners
- Check that each gate is fully closed
- Keep the elastic arms organized
- Do not improvise attachment points or resting setups
Spacing between climbers on the via ferrata
Proper spacing reduces the risk of a falling climber hitting the person below. As a safety rule, two people should never share the same segment of cable between anchors, especially on vertical sections. Avoid resting directly beneath other climbers, communicate before overtaking, and do not put pressure on those moving more slowly. Beginner groups require even more space to perform maneuvers calmly.
- Do not get too close to the carabiners of the person ahead
- Wait in a protected spot before starting a segment that is occupied
- Avoid standing below walls where rocks or objects could fall
- Agree on overtaking and passing without unclipping or causing confusion
Training for your first via ferrata
You do not need to be a rock climber, but a foundation of endurance, balance, and strength makes the first experience safer and more enjoyable. Hiking with elevation gain prepares you for the approach and descent; stairs, leg, and core exercises improve stability; a climbing gym can teach you how to use your feet better. Arm training is useful, but it should not compensate for inefficient technique.
- Walk regularly on trails with uphill and downhill sections
- Train your legs, core, balance, and mobility
- Practice grip strength exercises without working to failure
- Get used to carrying your backpack for the expected duration
- Conserve energy for the descent, where many mistakes due to fatigue occur
Fear of heights and vertigo
Fear of heights is common and should not be treated as a test of courage. Start with a short, low-exposure route, observe how you react, and maintain the option to turn back. Steady breathing, focusing on your footholds, and controlled movements help, but a panicking person should never be pushed to continue. Medical vertigo is different from simple fear and requires proper evaluation.
- Try low bridges, climbing walls, or training routes first
- Avoid ridges and highly exposed traverses on your first experience
- Communicate any discomfort or panic to your partner or guide immediately
- Do not look down continuously if your anxiety rises
- Turning back early is much easier than managing panic at the crux
Ideal weather for a first via ferrata
Choose a stable, dry day with moderate temperatures. Thunderstorms and metal cables are a combination to avoid; rain, cold, and wind reduce grip, dexterity, and focus. Check reliable local forecasts and consider the entire time window needed for the approach, via ferrata, and descent. Start early, but do not use an early start to justify setting out in uncertain weather.
- No significant risk of thunderstorms during the entire outing
- Dry rock and equipment
- Moderate wind, especially on bridges and ridges
- Temperatures suitable for the wall and altitude
- Sufficient daylight margin for delays and descent
When to turn back from a via ferrata
Turning back is a fundamental skill, not a failure. Retreat if the weather deteriorates, the cable is damaged, the route is closed, the group is running late, or if someone shows fear, fatigue, or difficulties beyond their level. Establish a turnaround time and an alternative plan beforehand. The longer you wait, the more the exposure and complexity of the retreat increase.
- Thunderstorms, persistent rain, ice, or high winds
- Loose, broken, corroded, or damaged equipment
- Early fatigue, cramps, dehydration, or loss of concentration
- Rising fear or inability to perform the necessary maneuvers
- Times running significantly longer than planned
Common mistakes made by beginners
The most common mistakes are choosing a famous route rather than a suitable one, setting off with untested gear, overusing the arms, climbing too close to others, and underestimating the descent. Following a group blindly can also lead you off route or onto a harder variation. A beginner should know the start, key passages, escape routes, and descent in advance.
- Increasing difficulty, duration, altitude, and exposure all at once
- Thinking the cable eliminates the consequences of a fall
- Putting the helmet on too late or adjusting the harness incorrectly
- Setting off without water, a headlamp, or layers because the route seems short
- Ignoring fatigue and fear to avoid slowing others down
Via ferrata with beginner children
Taking children on a via ferrata requires a specific assessment of their weight, height, strength, attention span, and comfort with heights. The set must match their weight, and the child must be able to reach the cable and operate the carabiners. Additional belaying with a rope, managed by a competent person, may be required. A route classified as easy for adults is not automatically suitable for young children.
- Verify the weight range of the set and the manufacturer's instructions
- Check that the cable, iron rungs, and carabiners are within reach
- Choose very short training routes that can be easily abandoned
- Protect against cold, heat, hunger, and loss of concentration
- Consult a mountain guide or instructor regarding belaying and route choice
Can you do your first via ferrata alone?
Tackling your first via ferrata alone is not recommended. A beginner can make connection errors, freeze out of fear, or fail to recognize route hazards. The casual presence of other climbers is not a substitute for a partner. Learn with a guide, on a course, or with an experienced person who knows how to intervene and won't choose a route beyond your level.
- Do not rely on online tutorials as your only practical training
- Always leave your route details and expected return time with a trusted person
- Bring a charged phone, but do not rely on having mobile signal
- Know the emergency number 112 and the information needed for a call
How long does a beginner via ferrata take?
For your first outing, a short total duration is preferable, ideally with a short equipped section and a simple descent. Guidebook times are approximate: a beginner takes longer at anchors, during rests, and on exposed sections. Add a safety margin rather than turning the day into a marathon. An outing concluded with energy to spare teaches you more than a via ferrata completed in exhaustion.
- Sum the approach, via ferrata, breaks, and descent times
- Consider weekend crowds and slow-moving groups
- Add time for instruction and gear adjustments
- Ensure plenty of daylight remains after the expected return time
How to progress after your first via ferrata
After a first EEA-F route, consolidate your technique on other easy routes before increasing the difficulty. Change only one variable at a time: longer duration, greater exposure, higher altitude, or a PD rating. Assess not just whether you finished the route, but how much energy, precision, and confidence you had at the end. If you reached your limit, repeat a similar level instead of moving up.
- Repeat maneuvers and technique until they become fluid
- Gradually increase duration or elevation gain
- Progress to short PD routes before attempting difficult or sustained routes
- Always keep a simpler alternative in mind
- Continue training with courses and qualified individuals
How to find easy via ferratas on Sferrati
On Sferrati, you can start from the map and technical sheets to compare difficulty, duration, elevation gain, altitude, and location. Filter for the easiest routes, then open each page and assess the full picture. Do not automatically label a via ferrata as suitable for beginners just because it has a low grade: verify the access, return path, route status, recent conditions, and the abilities of your group.
- Look initially for routes of easy difficulty
- Mentally sort the options by short duration and low elevation gain
- Check the distance, altitude, and logistics on the map
- Compare at least two or three routes
- Verify current conditions with local sources before departure
First via ferrata checklist
The evening before, check the route, weather, route status, gear, and schedules. At the start of the route, perform a partner check of helmets, harnesses, and lanyard connections. During the climb, maintain spacing, communicate, and monitor fatigue and weather. The checklist does not eliminate risk, but it turns important safety decisions into checkable habits.
- EEA-F or very mild PD route, with an up-to-date description
- Helmet, harness, and EN 958 set inspected and familiar
- Shoes, gloves, water, food, layers, headlamp, and first aid kit
- Guide, course, or competent partner
- Stable weather, early start, and turnaround time set
- Simpler alternative plan and readiness to turn back
Conclusion: the best via ferrata to start with
The best via ferrata for beginners is not necessarily the most spectacular one: it is the one that allows you to learn with a safety margin. Choose an F difficulty, a short duration, equipment in good condition, stable weather, and competent companionship. If you still have energy at the end, managed the carabiners calmly, and enjoyed the environment, the route was suitable. Progression will follow, one step at a time.
